
Module 4 Unit 3 - Creating Your Own Notebooks#
Unit Learning Objectives#
By the end of this unit, you will be able to
Create a new Jupyter notebook within your Callysto account
Opening and Managing Notebooks#
Under the Files tab of your Callysto hub you can see a full list of the files in your account. To open a file, just click on its name.
For example, click on the file named getting-started.ipynb. If you don’t see it, check that you’re on the Files tab of your hub.
When the file opens, you should see it as a document in your web browser.
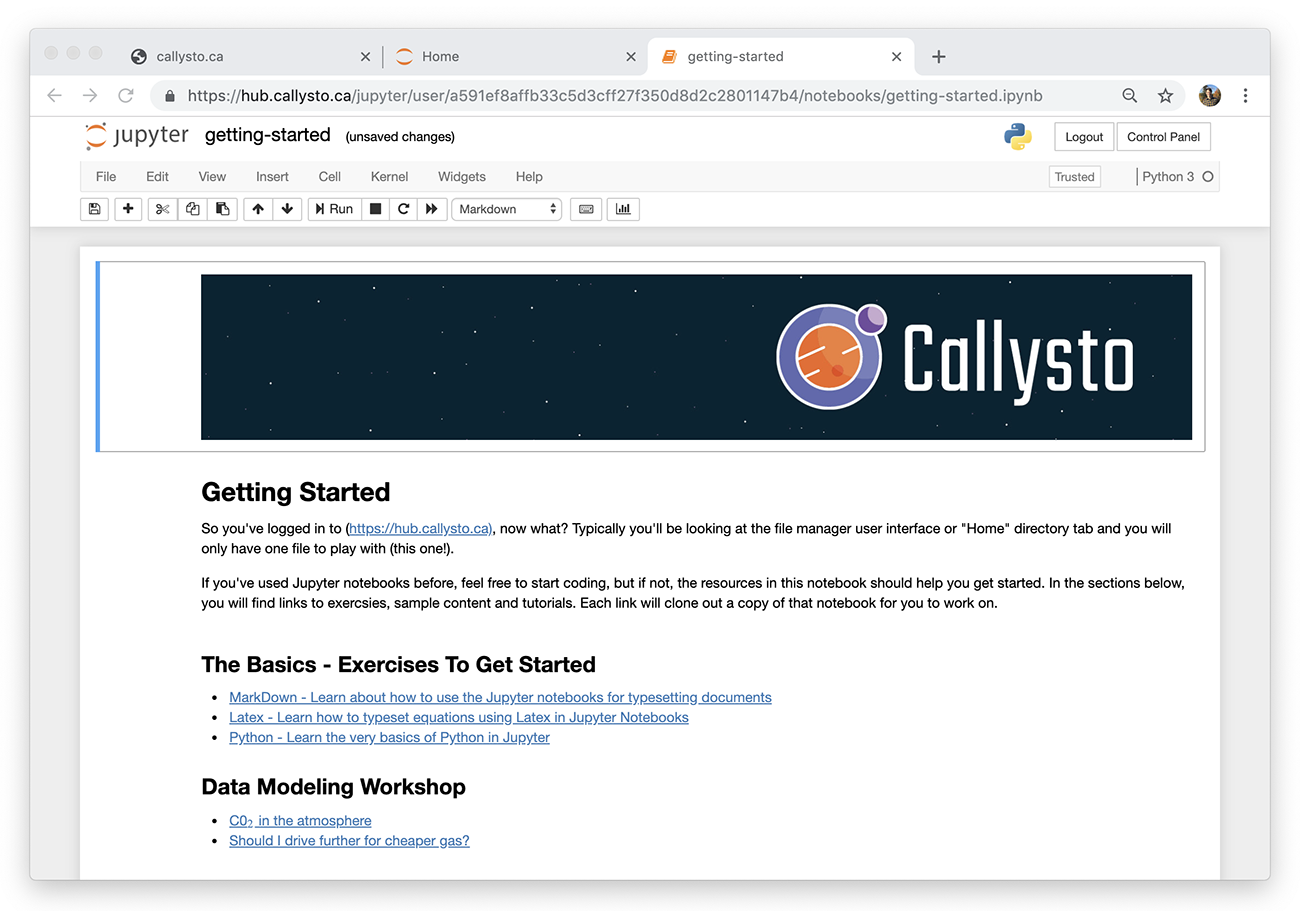
This is your first notebook in Callysto! This notebook is live — you can explore and interact with it just as you did in earlier Jupyter notebook lessons. Try playing around with it as you did with the notebooks in Module 3.
In this notebook, there are several links to other notebooks highlighted in blue. Clicking on the text will open them as new tabs in your browser. Try them out and make sure you understand how to get back to your original notebook.
Downloading Notebooks#
Downloading a file can be helpful for printing, sharing, or embedding into other documents on your computer.
To download a notebook, first open it in your browser. Next, open the File menu located in the top left of the document and go down to Download as.
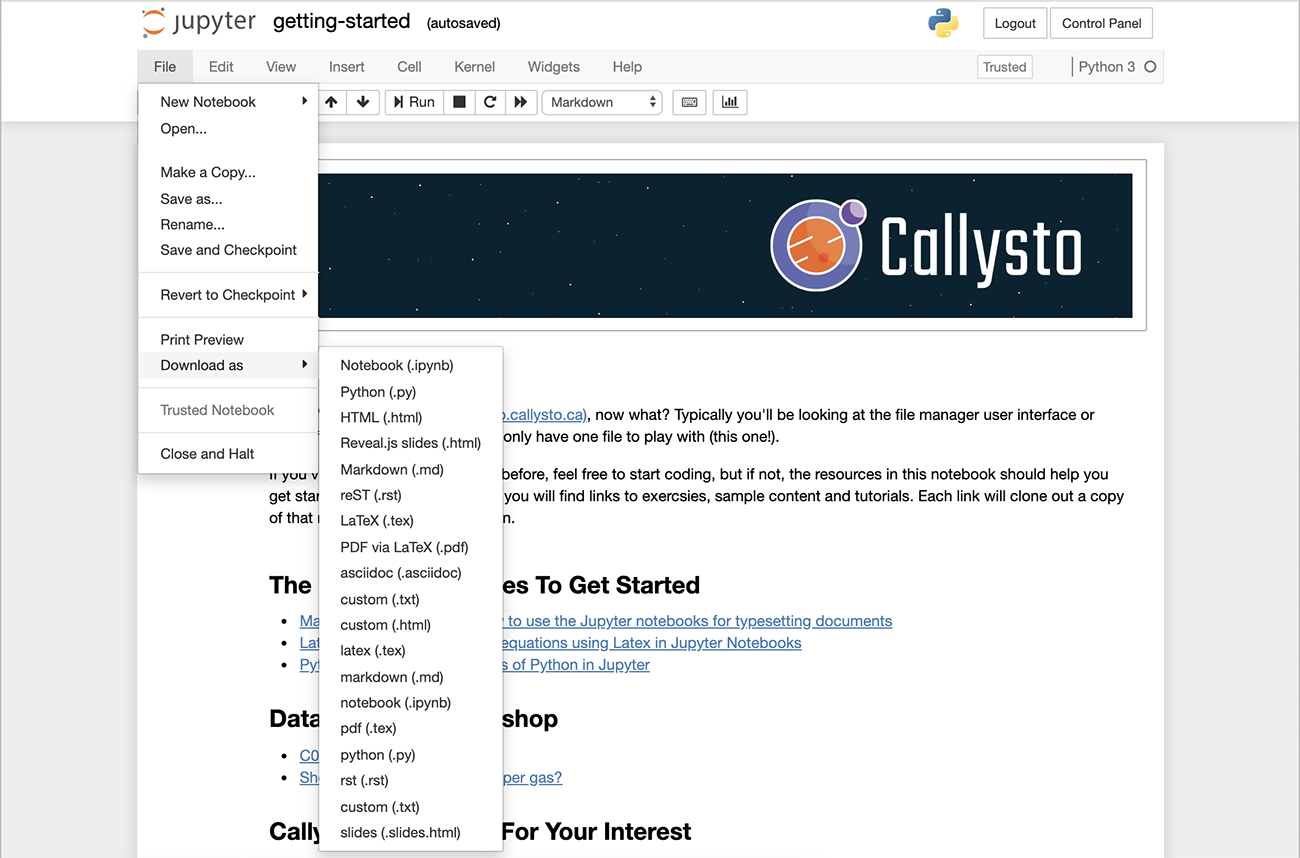
You will see a long list of options. You could try any of them, but Notebook (.ipynb) is the most useful for sharing a working copy of the notebook with someone else.
PDF via LaTeX is very useful to obtain a printable PDF file, that can be viewed by Adobe Acrobat Reader or printed on your local printer.
HTML (.html) is useful as a file that can be saved on your own computer and viewed with an Internet browser.
Managing Notebooks#
The same File menu in the notebook can be used to Save changes to the file, Rename the file, Copy the file to generate a duplicate, and more. Explore the File menu in your starting notebook to see what other options are available.
Creating your Own Notebooks#
To create a new notebook, go to your Callysto hub. If you have multiple Callysto tabs open in your browser, your hub will be the one titled Home.
On the right side of the page, click the New button. Then, under the Notebook section of the drop-down menu, select Python 3.
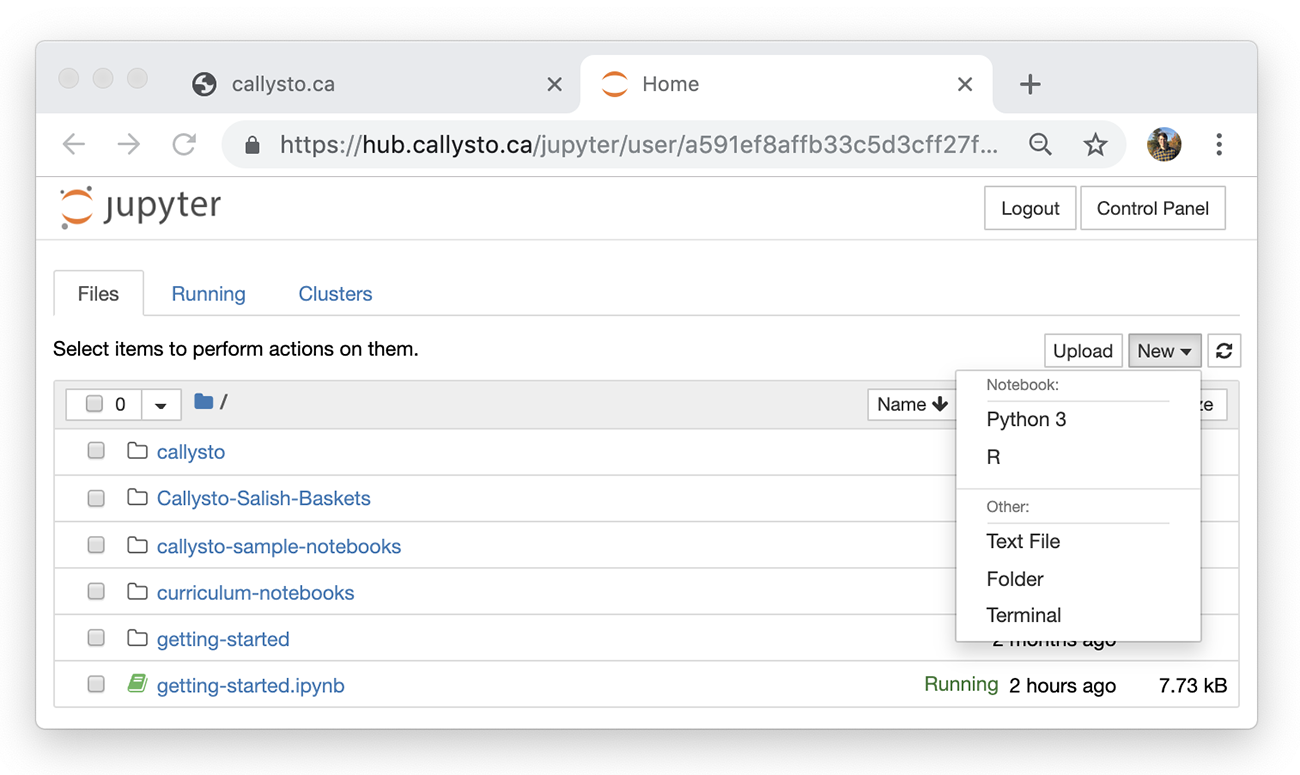
This will generate an interactive Python Notebook which will appear in your list of files with the name Untitled.ipynb.
The Callysto server will automatically open the notebook in a new tab, which will look like this:
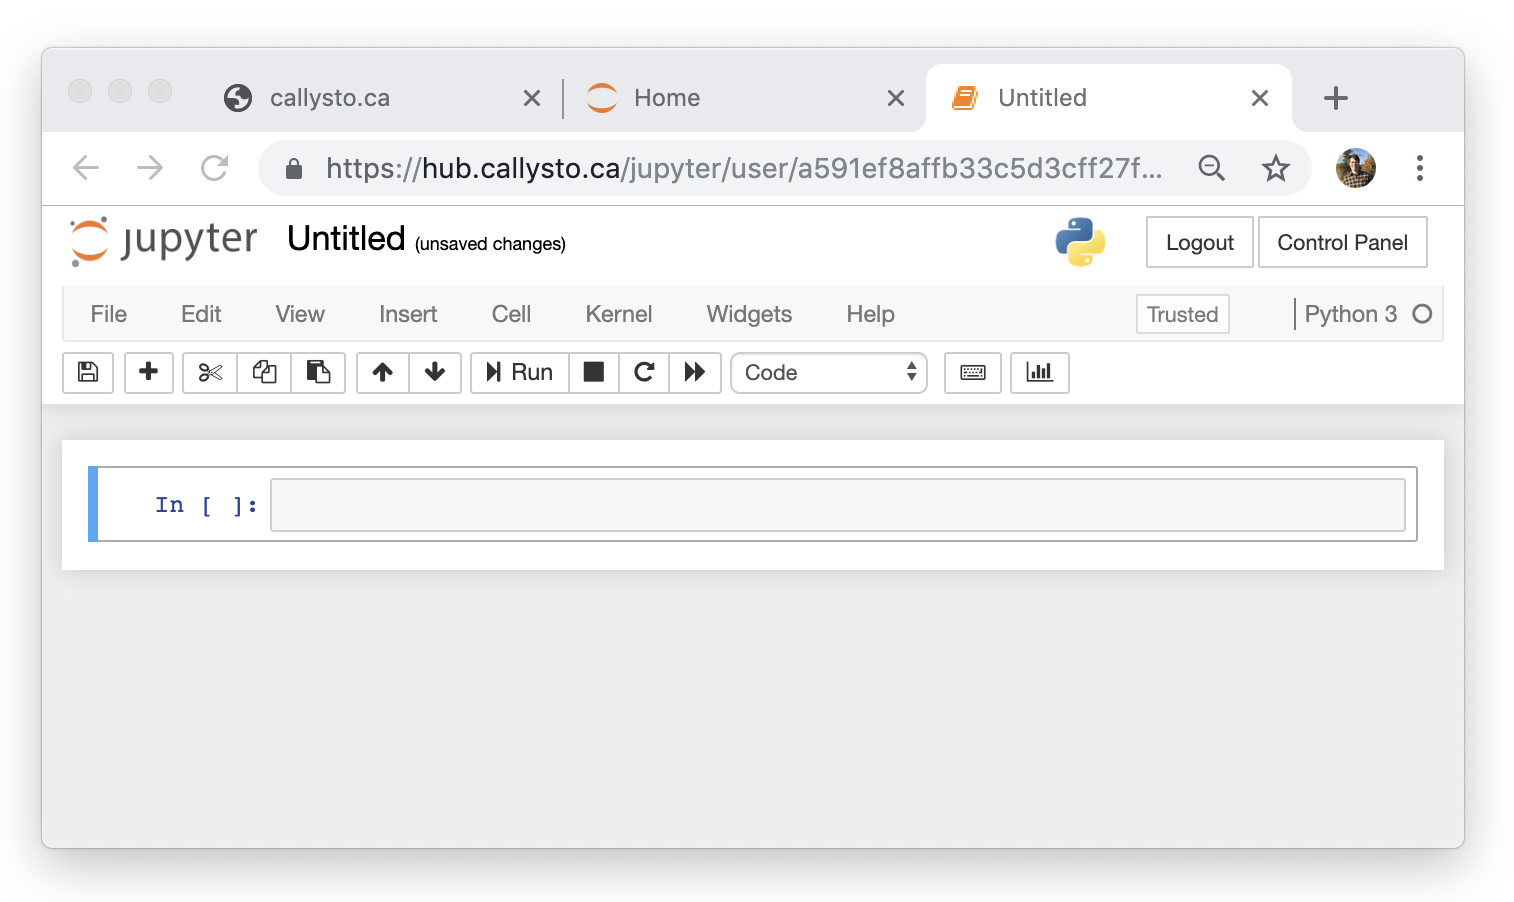
You can rename your new notebook file by clicking on the title, Untitled, at the top of the page.
Adding Content#
As we explored in previous lessons, notebooks can support a wide variety of content. Visit the links below for refreshers on adding the kinds of content already covered in this course.
Creating and editing cells
Adding and formatting text using Markdown
Knowledge Check#
You can download Jupyter Notebooks in a variety of file formats. Match the file format of a downloaded Notebook with a purpose for choosing that download option.
